
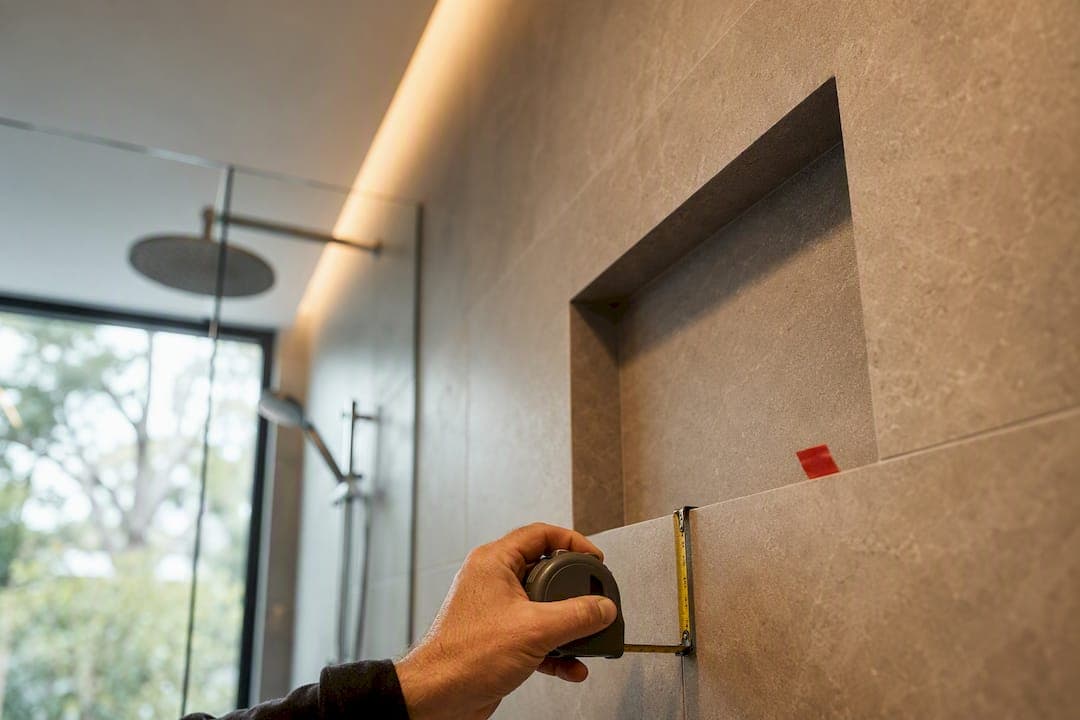
Center your shower niche between 48 and 60 inches (1200 to 1500 mm) off the finished floor, with 48 inches a solid default for most standing adults. Lower the niche to a height convenient for seated users or niches near a bench, often in the lower range around 36 to 42 inches. Before anyone cuts drywall, confirm the layout against your waterproofing plan and tile grid, because a niche placed wrong on either front is expensive to fix later.
TL;DR:
- Most shower niches should be placed between 48 and 60 inches off the floor, with lower heights around 36 to 42 inches for seated users.
- Typical niche dimensions are about 12 inches wide and up to 20 inches high, with a depth limited to around 3.5 inches in standard stud walls.
- Position niches on side walls, away from direct spray, and coordinate placement with plumbing before framing to avoid costly adjustments.
- Waterproofing must be continuous and include a slight slope on the niche sill to prevent pooled water, mold, and grout discoloration.
- For households with children or older adults, niches should be tailored to user height, with options for multiple levels to accommodate different needs.
Table of Contents
- What Height Should a Shower Niche Be?
- How Big Should a Shower Niche Be?
- Where Exactly Should the Niche Go on the Wall?
- What Happens Behind the Tile Matters Most
- Common Shower Niche Mistakes to Avoid
- How a Renovation Contractor Sequences a Shower Niche Build
- What's the Right Niche Height for Kids or Older Adults?
- Does Shower Type Change Where the Niche Goes?
- Test It Before You Trust It
- Get Your Shower Niche Built Right the First Time
- Sources
- FAQ
What Height Should a Shower Niche Be?
Most height debates come down to one confusion: are you measuring the bottom, the center, or the top of the opening? Tilers usually talk in terms of the bottom edge, since that determines what you can reach without bending or stretching. Standard placement puts that bottom edge somewhere between 48 and 60 inches off the finished floor, with the center of the opening landing close to shoulder height for an average adult.
A 48 inch starting point works for most bathrooms because it sits below eye level but above where you'd have to hunch to grab a bottle. Go higher, toward 60 inches, in a household of taller adults or when the niche sits above a bench and needs to clear a seated head. Converting between systems matters here too: 1200 mm is roughly 47 inches, and 1500 mm lands close to 59 inches, so don't round so aggressively that you end up a few inches off in either direction.
Ergonomics change the math for specific users:
- Seated or bench users: lower the niche bottom to 36 to 42 inches (900 to 1050 mm) so it's reachable without standing.
- Tall households: push toward the top of the 48 to 60 inch range, or slightly above.
- Mixed heights under one roof: install two niches at different levels instead of splitting the difference and satisfying no one.
A quick reference point: a niche centered around 48 inches (1200 mm) sits roughly at chest height for someone 5'6" to 5'10", which is why it shows up so often as the default recommendation.
How Big Should a Shower Niche Be?
Height only matters once the overall footprint fits your wall and your tile plan. Most single niches commonly run about a foot wide and vary in height up to around 20 inches, though taller vertical formats stretch past 30 inches when you want split shelving for shampoo up top and razors below. A practical minimum for the internal opening is around 300 mm (roughly 12 inches) wide. Anything narrower turns into a slot that's hard to tile cleanly and hard to use.
Depth is where standard framing pushes back. A typical 2x4 stud wall gives you about 3.5 inches (89 mm) of usable depth, which is enough for most bottles standing upright. Want something deeper? You're looking at 2x6 framing or furring out the wall, and depths beyond about 150 mm start collecting water and grime instead of holding soap.
Common size templates worth discussing with your tiler:
- 12x12 in (300x300 mm) for a compact, single-shelf niche
- 12x24 in (300x600 mm) for a two-tier layout
- 12x30+ in (300x760+ mm) for a tall, multi-shelf format
Pro Tip: Lay out your tile pattern on paper (or in the shower itself with painter's tape) before you frame the niche. Sizing it to land exactly on grout lines avoids ugly half-tile cuts on every edge.
Where Exactly Should the Niche Go on the Wall?
Wall choice matters as much as height. Water pressure and body position both push you toward the same answer.
- Pick the side wall, not the wall directly under the shower head. A niche placed beside the valve, out of the direct spray path, stays drier and keeps labels legible longer.
- Face it toward where the user actually stands. A niche installed on the wall you turn your back to defeats the purpose. Watch how the household uses the shower before finalizing the spot.
- Coordinate with the plumber before framing starts. Valve bodies, mixing cartridges, and supply lines often occupy the exact stud bay you'd otherwise use for the niche. Settling this early avoids relocating either one mid-build.
- Add a second, lower niche near a bench or shaving area if your layout supports it. This is a small addition during framing that pays off daily, especially in households with a seated shower routine.
What Happens Behind the Tile Matters Most
Framing and waterproofing decisions made before a single tile goes up determine whether your niche lasts twenty years or leaks within two.
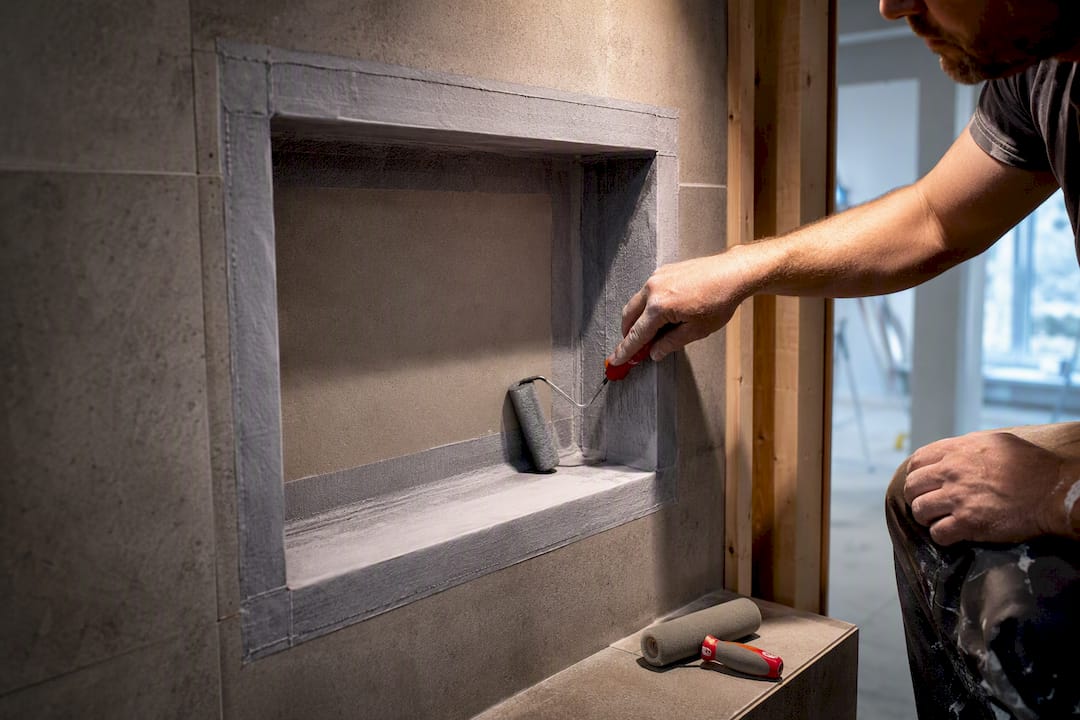
Stud bay depth is your first constraint. A standard 2x4 wall caps you at roughly 3.5 inches unless you switch to 2x6 framing or add furring strips. Want a wider niche that spans more than one stud bay? That requires a header and additional blocking to keep the wall's load path intact, which is a framing decision, not a tiling one, so involve whoever is doing structural work early.
Waterproofing has to treat the niche as part of the shower's membrane system, not an afterthought bolted on later. In practice that means:
- Continuous waterproof membrane running behind the niche and tying into the surrounding wall tanking
- Sealed transitions where the niche meets the flat wall plane, since corners are where failures start
- A sill built with a slight forward slope, around 5 degrees, so water runs out instead of sitting
That slope detail sounds minor, but pooled water on a flat niche sill is one of the most common causes of grout discoloration and mold along the bottom edge. And if the niche has to go on an exterior wall, budget for specialist insulation and waterproofing detailing, because a standard interior-wall approach won't handle the moisture and thermal-bridging risk the same way.
Common Shower Niche Mistakes to Avoid
Most niche problems trace back to a handful of avoidable decisions made before the framing even starts.
- Placing the niche mid-tile instead of on a grout line, which forces awkward cuts on every edge.
- Making it deeper than necessary, which invites water pooling and makes cleaning harder.
- Guessing at height instead of measuring, especially in households with very different heights or a seated user.
- Treating waterproofing as separate from the niche rather than one continuous system.
- Cutting into an exterior wall without extra detailing, risking moisture and insulation problems down the line.
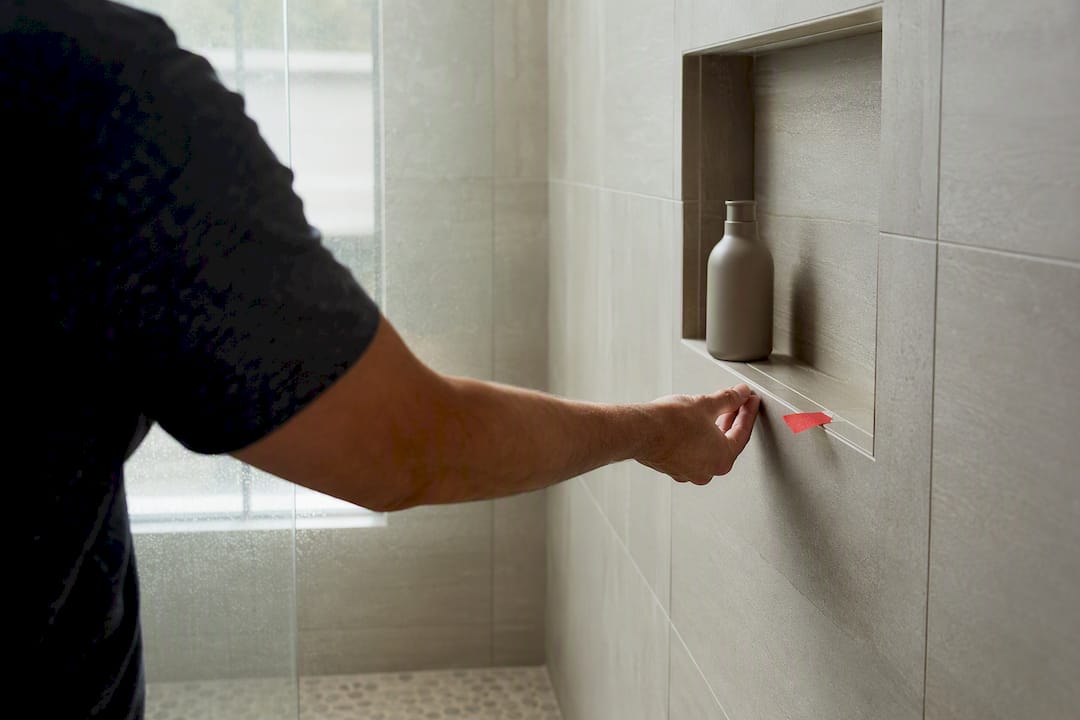
A few habits prevent nearly all of this. Build a full-size cardboard mockup and tape it to the wall before anyone picks up a saw. Confirm your tile grid with the tiler so the opening lands where grout lines already fall. And if the household has different needs, from a tall partner to a bench user, raise the idea of two niches instead of one compromise height.
Pro Tip: Walk through your daily shower routine and physically mark where your hand naturally lands when you reach for a bottle. That spot, not a chart, is your real height target.
For readers weighing broader renovation costs alongside a niche decision, this bathroom renovation cost overview covers common budgeting pitfalls worth reviewing before you finalize scope.
How a Renovation Contractor Sequences a Shower Niche Build
Niche placement should be locked in during the design phase, before framing or waterproofing begins, because moving a niche after tiling starts means redoing work that's already paid for. Having one point of contact track that decision through the entire build helps avoid leaving it to whichever trade shows up that week.
The coordination sequence looks like this:
- Confirm plumbing and valve locations before framing the niche cavity
- Set niche height and width against the finalized tile plan
- Sequence waterproofing so the niche membrane ties directly into the shower's tanking system
- Check framing depth against the chosen niche size before drywall goes up
That sequencing is what prevents the rework installers see constantly on jobs where the niche got decided after the fact.
What's the Right Niche Height for Kids or Older Adults?
A household with young children or older adults needs a different answer than the standard 48 to 60 inch range built for an average standing adult.
For children, a niche set at adult height is essentially unreachable. If a lower niche is feasible, positioning it closer to 30 to 36 inches (760 to 900 mm) puts shampoo and body wash within reach without a parent handing bottles over. That said, most families don't build a dedicated kids' niche. Instead, they lower one shelf within a taller niche, or simply accept that kids use what an adult hands them for a few years and design for the long-term primary users instead.
Older adults raise a different set of concerns, and they're less about reach height and more about stability and bending. A niche set too low forces a stooped reach that's a real fall risk on wet tile, especially for anyone with balance or joint issues. Keeping the niche bottom closer to 42 to 48 inches (1050 to 1200 mm) avoids that stoop while staying within comfortable eye and arm range. If the bathroom includes a shower bench or seat for aging-in-place planning, a secondary lower niche near that seat matters more than the primary one, since it puts essentials within arm's reach without requiring anyone to stand and turn.
The honest takeaway: build for whoever uses that shower most often, and if the household spans decades in age, two niches at different heights solve more problems than one at a compromise height nobody's happy with.
Does Shower Type Change Where the Niche Goes?
Shower type changes both the available wall space and the placement logic, sometimes significantly.
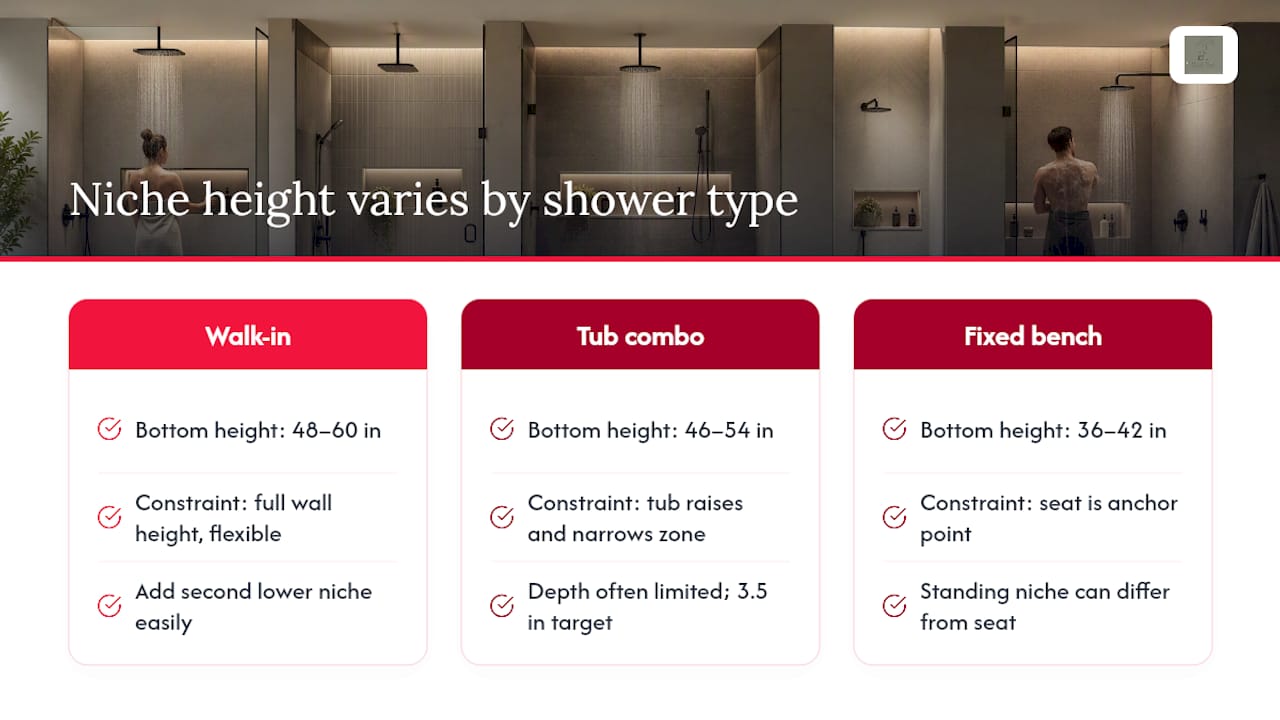
In a walk-in shower, you typically have the most flexibility. Full wall height is usable from floor to ceiling, and there's often a dedicated side wall next to the valve with no tub curb or glass panel constraint in the way. This is the easiest case for hitting the standard 48 to 60 inch recommendation without compromise, and it's also where a second, lower niche is easiest to add if a bench is part of the design.
A bathtub-shower combo is more restrictive. The tub itself occupies the lowest portion of the wall, which pushes your practical niche zone higher and narrower than in a walk-in. Placement above the tub deck but still within comfortable reach usually lands the niche bottom around 46 to 54 inches, adjusted based on tub height and user reach. Depth is often tighter too, since combo units frequently use surrounds or acrylic panels that leave less room for a deep cavity, making the standard 3.5 inch depth from 2x4 framing the more realistic target here.
A shower with a fixed bench or seat built in should treat that seat as the anchor point for at least one niche, positioned at seated reach height, roughly 36 to 42 inches, regardless of what the standing-height niche elsewhere on the wall is doing. The two don't need to match. They serve different moments in the same shower.
Test It Before You Trust It
Charts and formulas get you close, but the household living in that bathroom is the only real source of truth. I'd rather see someone tape a cardboard mockup to the wall and physically reach for it a dozen times than trust a number pulled from a guide, mine included.
Hold the grout-line rule and waterproofing plan as non-negotiables early, before tiling starts, not after. And if the wall in question is exterior, or the layout involves spanning studs, that's the moment to call a renovation professional rather than improvise.
— Sarah
Get Your Shower Niche Built Right the First Time
The whole sequence, from framing and plumbing coordination through waterproofing, tiling, and final finishes, can be handled to ensure the niche decision doesn't fall on you to manage between different trades. That's the practical advantage of a single project manager over piecing the work together yourself: nobody has to double back and redo a niche because the plumber and tiler weren't talking to each other.

Bathroom renovations, laundry upgrades, and structural work all run through the same coordinated process, with one point of contact from initial planning to handover. If you're renovating a bathroom and want the niche placed correctly on the first pass, waterproofed properly, and aligned to your tile plan without guesswork, request an on-site quote from Ariya Construction and get a measurement plan built around your actual bathroom, not a generic template.
Sources
- Shower Niche Size and Placement: Dimensions & Height — BoiseBath
- Shower Niche Sizes Explained | Apollo Tile
- Shower niche size guide — Discount Bathrooms (AU)
- Where Should a Shower Niche Go? Height and Placement Guide — Bromley Tiler
FAQ
Is 12 Inches Tall Enough for a Shower Niche?
Twelve inches works fine for a single-shelf niche holding a couple of bottles, but if you want room for taller items or a two-tier layout, 20 inches or more gives you more usable storage without changing the width.
Is It Better to Have a Shower Niche Vertical or Horizontal?
Vertical niches suit narrow wall sections and split-shelf storage, while horizontal niches fit better above a tub deck or bench where height is limited; either orientation works as long as it aligns with your tile grid.
What Are the Most Common Shower Niche Mistakes?
The biggest ones are placing the niche off the tile grid, making it deeper than the standard 3.5 inch stud bay allows, skipping a sloped sill, and treating waterproofing as separate from the surrounding shower membrane.
Where Should You Avoid Placing a Shower Niche?
Avoid the wall directly in the spray path of the shower head, avoid exterior walls unless a specialist handles the waterproofing and insulation detailing, and avoid spanning multiple studs without adding a header for structural support.