
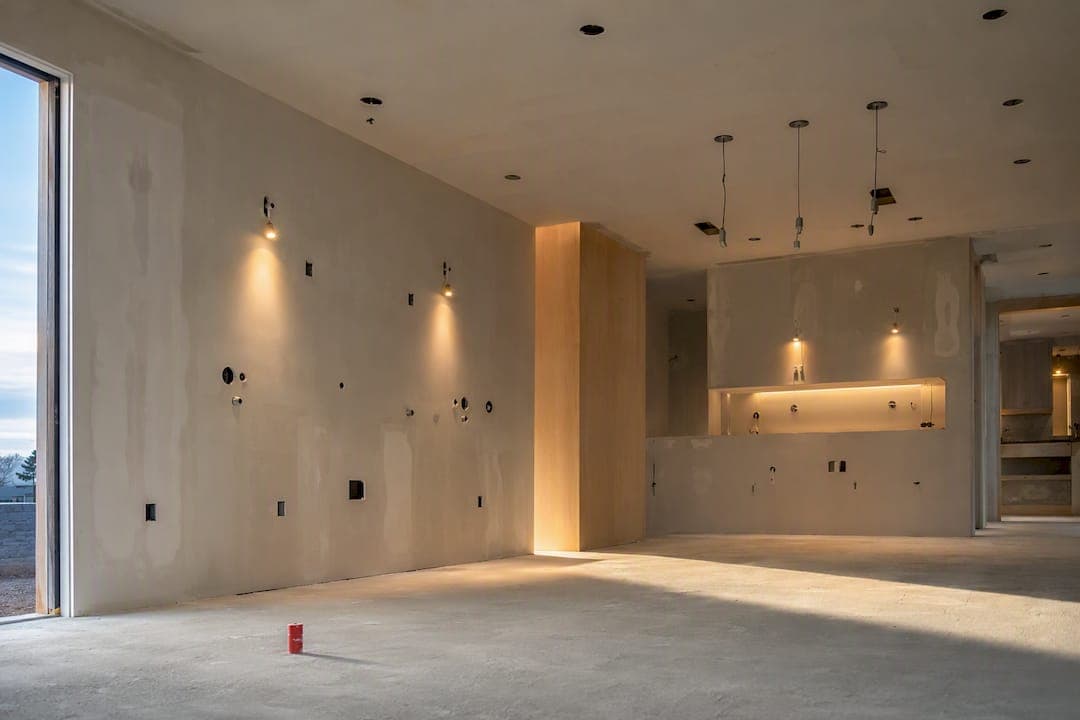
The best kitchen lighting plan is task-first and layered: ambient, task, accent, and decorative light, each on its own dimmable circuit. Start with around 3000K LEDs and shadow-free under-cabinet task lighting at every counter. That's the foundation many experienced renovators use on every kitchen renovation before a single cabinet goes in.
TL;DR:
- Proper kitchen lighting involves four layers—ambient, task, accent, and decorative—each on its own dimmable circuit for optimal functionality and flexibility.
- Recessed downlights should be spaced about 24 inches from cabinet fronts, not centered on the ceiling, and Pendants should hang 30 to 36 inches above islands for effective illumination.
- Each lighting layer needs a dedicated switch or dimmer with LED-compatible (ELV or CL) dimmers to prevent flicker and ensure proper control, especially near moisture zones.
- The recommended color temperature for kitchen lighting is around 3000K with CRI 90+ for true color rendering, and mixing different Kelvin ratings creates unwanted visual mismatches.
- Engaging a licensed electrician is crucial for any new circuit, switch relocation, or fixture near splash zones to ensure safety and code compliance during renovation.
Table of Contents
- Why a Kitchen Lighting Plan Matters More Than You Think
- What Do the Four Kitchen Lighting Layers Actually Do?
- How Do I Design the Lighting for My Kitchen?
- Where Exactly Should Kitchen Light Fixtures Go?
- Why Every Lighting Layer Needs Its Own Switch
- What Color Temperature Should Kitchen Lights Be?
- When Do You Need an Electrician for Kitchen Lighting?
- What Does a Kitchen Lighting Plan Cost?
- A Contractor's View on Getting Kitchen Lighting Right
- Get a Kitchen Renovation That Plans Lighting In From Day One
- Sources
- FAQ
Why a Kitchen Lighting Plan Matters More Than You Think
Bad kitchen lighting isn't just unflattering. It's a knife near a dim countertop and a stovetop you can't quite see into. Planning lighting before construction, not after, is what separates a kitchen that works from one that just looks good in photos.
The fix is a layered approach: four types of light working together instead of one ceiling fixture trying to do everything. Plan them in this order:
- Map your work zones first (island, sink, stove, prep counters).
- Add task lighting exactly where hands and knives go.
- Fill remaining space with ambient light for even coverage.
- Layer in accent lighting, then decide on decorative fixtures.
- Wire each layer to its own switch or dimmer.
Design trends for 2026 lean toward this same logic. Homes & Gardens reports a shift toward layered warmth and integrated LEDs instead of one oversized statement fixture doing all the work.
What Do the Four Kitchen Lighting Layers Actually Do?
Every kitchen lighting plan breaks down into four layers, and confusing one for another is where most homeowners go wrong.
Ambient lighting is your general fill, usually recessed downlights or a flush mount, giving the room enough brightness to move around safely. Task lighting goes exactly where work happens: under-cabinet LED strips over counters, a pendant over the sink, directional recessed cans over the stove. Accent lighting highlights something, like a strip inside a glass cabinet or a toe-kick light under lower cabinets. Decorative lighting is the fourth layer, and it's where personality lives.
The four-layer formula, as House Beautiful frames it, treats decorative fixtures as a design layer, not an afterthought. But a pendant that looks stunning and throws no usable light downward is a design failure with a price tag.
- Ambient: recessed downlights, flush mounts, cove lighting.
- Task: under-cabinet strips, island pendants, directional cans.
- Accent: cabinet strip lights, toe-kick LEDs, art lighting.
- Decorative: statement pendants, sconces, small chandeliers.
Pro Tip: Before you fall for a pendant online, ask whether it directs light down onto the counter or just glows sideways. If it can't do both jobs, it belongs in accent lighting, not task.
How Do I Design the Lighting for My Kitchen?
Follow these steps in order, and don't skip ahead to fixture shopping before step one is done.
- Walk the space and mark every work position: stovetop, prep counters, sink, coffee station, and dining spot. Note where your body casts a shadow while working.
- Place task fixtures for each zone: under-cabinet LED strips along every counter run, a pendant or two over the sink, and directional recessed lights angled at the cooktop, not centered above it.
- Add ambient fill with proper spacing. Recessed downlights typically sit on a grid, offset roughly 24 inches from cabinet fronts, not scattered evenly across the ceiling regardless of what's below.
- Designate switches and dimmer zones. Each layer gets its own control, and this is the point to bring in a licensed electrician to confirm circuit loads and switch locations.
- Do a final check. Stand at the stove and sink and look for glare, shadow gaps, and conflicts with a range hood or upper cabinets blocking light paths.
The IES lighting handbook backs this zone-first sequence specifically because planning by fixture type first is what leads to over-lit ceilings and dim countertops.
Where Exactly Should Kitchen Light Fixtures Go?
Placement rules matter more than fixture selection, and this is where most kitchen lighting plans quietly fail.
Pendants over an island typically hang with 30 to 36 inches of clearance between the bottom of the fixture and the countertop. Space multiple pendants evenly along the island's length rather than clustering them, or run a single linear fixture if your island is long and narrow.
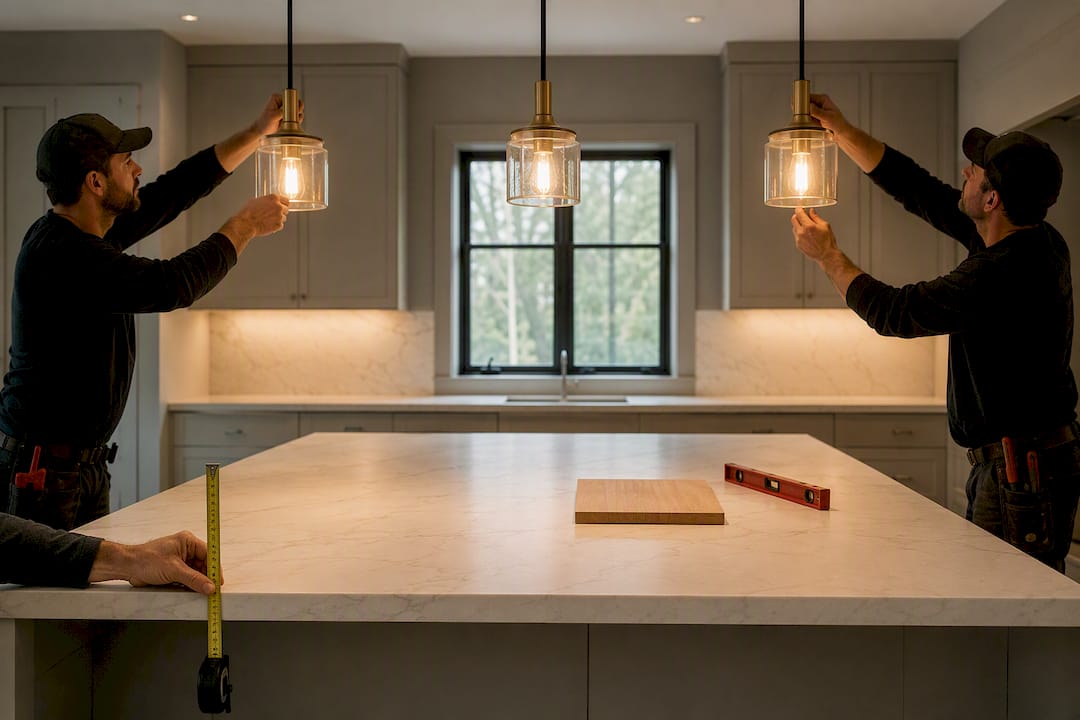
Recessed downlights work best on a calculated grid, not a single row down the ceiling's center. Offset them roughly 24 inches from cabinet fronts so light lands on the counter, not the cabinet face. Under-cabinet LED strips deliver the highest return of any single upgrade because they eliminate the shadow your own body casts while chopping vegetables, and they belong mounted at the front edge of the cabinet, not tucked at the back.
Common mistakes worth fixing before install:
- Recessed cans centered on the ceiling instead of over work surfaces.
- Pendants sized too large or too small for the island's proportions.
- Under-cabinet strips mounted toward the wall instead of the front lip.
- Relying on one ceiling fixture to light the entire kitchen.
Why Every Lighting Layer Needs Its Own Switch
Ambient, task, and accent lighting should each land on a separate switch or dimmer. Without that separation, you're stuck choosing between "too bright to cook" and "too dark to see the stove."
Dimmer compatibility trips people up constantly. Standard incandescent dimmers cause flicker and shorten the life of LED fixtures, so use ELV or CL-rated LED-compatible dimmers instead. Smart dimmers add scene presets ("cooking," "dinner," "cleanup") and work well in multiway setups with several switches controlling one circuit, though they cost more and add a setup step some homeowners skip entirely.
- Put ambient, task, and accent layers on independent switches.
- Choose LED-rated (ELV/CL) dimmers, never standard incandescent ones.
- Consider smart dimmers if you want lighting scenes, not just on/off.
- Loop in a licensed electrician before adding or moving any circuit.
Pro Tip: If your kitchen renovation involves relocating switches or adding circuits, get the electrician's sign-off before cabinetry installation starts. Moving a switch after benchtops are in is a demolition job, not a quick fix.
What Color Temperature Should Kitchen Lights Be?
Around 3000K is the standard for kitchens because it balances warmth with enough clarity to judge whether chicken is actually cooked through. The Spruce notes this range consistently wins with designers over the colder 4000K office look or the amber 2700K living-room tone.
What the numbers say: The IES lighting handbook suggests roughly 30 to 40 footcandles for general kitchen ambient light and 50 to 100 footcandles at task surfaces like counters and the stove.
Pair CRI 90+ bulbs with that 3000K target, especially near the stove and sink, so food colors and finishes read true rather than washed out. Keep the Kelvin rating consistent across every layer. Mixing a 3000K under-cabinet strip with a 4000K recessed can produces a visibly mismatched, slightly clinical effect that no amount of dimming fixes.
When Do You Need an Electrician for Kitchen Lighting?
Call a licensed electrician any time you're adding a new circuit, relocating a switch, or cutting into the ceiling for recessed fixtures. This isn't a suggestion for ambitious DIYers to skip. It's the point where a lighting plan becomes a wiring job with real consequences if it's wrong.
Water proximity is the other non-negotiable. Fixtures near the sink, dishwasher, or any splash zone need proper IP-rated, moisture-resistant construction.
- Bring in a licensed electrician for any new circuit or switch relocation.
- Use IP-rated fixtures within splash range of sinks and dishwashers.
- Confirm product certification and have your electrician verify local compliance before final sign-off.
What Does a Kitchen Lighting Plan Cost?
Under-cabinet LED strip kits sit at the affordable end, recessed downlights and pendants cost more per fixture plus install labor, and electrician time for new circuits or switch relocation is usually the biggest line item once ceilings get opened up. High ceilings, multiple new circuits, and structural ceiling changes all push costs upward fast.
- Under-cabinet LED kits: the lowest-cost, highest-impact task lighting upgrade.
- Recessed downlights: moderate per-fixture cost, rising with ceiling access difficulty.
- Pendants: wide price range depending on style and how many you install.
- Dimmers and switches: modest cost individually, but multiply per zone.
- Electrician labor: the largest variable, driven by new circuits and ceiling cuts.
Spend first on under-cabinet task lighting and proper dimmable controls. Decorative pendants and accent fixtures can wait, or get swapped later, without touching a single wire.
A Contractor's View on Getting Kitchen Lighting Right
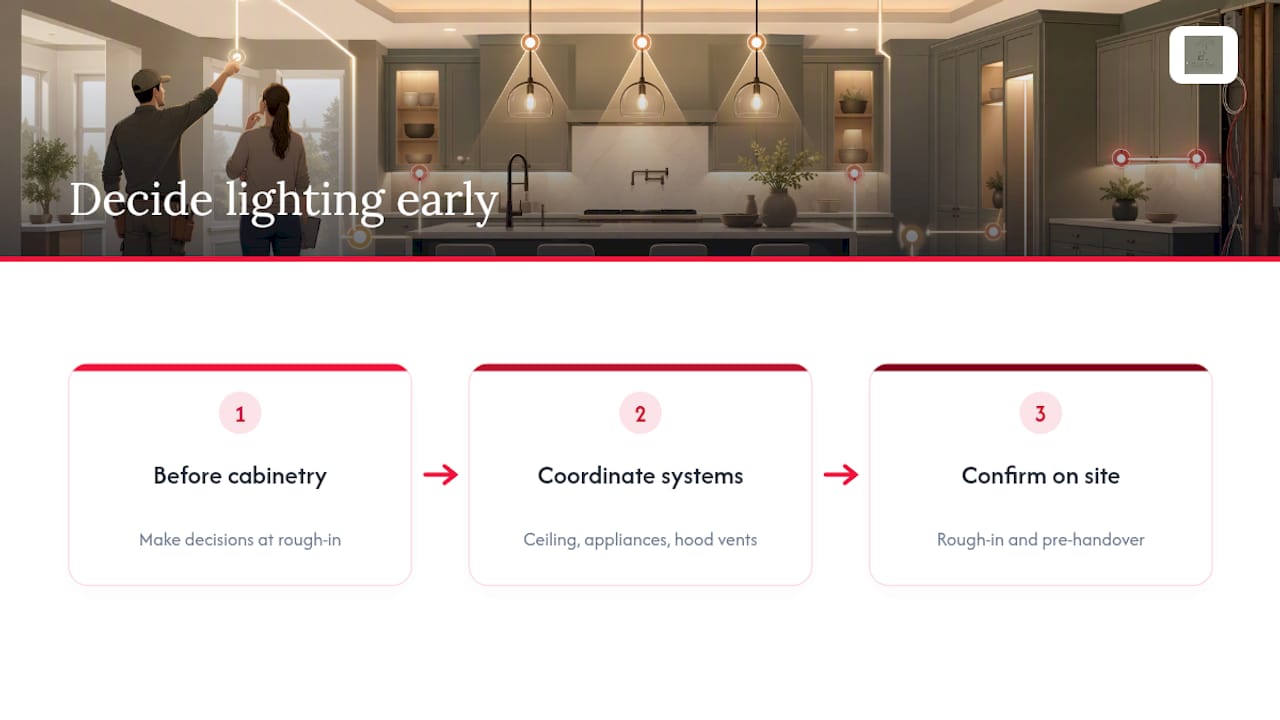
Lighting decisions have to happen before cabinetry and benchtops go in, not after. Once cabinets are installed, moving a switch or adding a recessed can location means cutting into finished work, and that's an expensive correction that a five-minute conversation during rough-in would have prevented.
Coordinate ceiling penetrations, appliance placement, and range hood venting with your lighting plan at the same time, not in sequence. On site, confirm switch locations, dimmer zones, and fixture positions during rough-in, and again before final handover.
— Sarah
Get a Kitchen Renovation That Plans Lighting In From Day One
Most homeowners plan lighting after the layout is locked, then discover a switch is in the wrong wall or a pendant location doesn't line up with the island. Some renovation contractors build the lighting plan into the kitchen remodeling itself, coordinating fixture locations with cabinetry, appliances, and electrical rough-in before anything gets installed twice.

That coordination is the real value: your electrician, cabinet maker, and lighting choices are working from the same plan instead of three separate schedules that clash halfway through the build. Fewer surprises during construction means fewer costly changes after the fact, and a finished kitchen where the switches, fixtures, and cabinetry were designed to work together from the start.
If you're renovating a kitchen and want lighting handled as part of the full project rather than bolted on afterward, get in touch through Ariya Construction's kitchen renovation page to talk through your layout and get a quote.
Sources
- 14 Kitchen Ceiling Light Ideas That Designers Swear Work Every Time | The Spruce
- The “Four Layer Formula” Is the BEST Way to Light Your Kitchen, According to a Designer | House Beautiful
- Kitchen lighting trends 2026 — Homes & Gardens
FAQ
What Is the 5'7 Lighting Rule?
It's a rough placement guideline suggesting wall sconces or fixtures sit at roughly eye level so light distributes evenly without glare. In kitchens it's used more loosely, mainly for pendant and sconce height rather than as a strict measurement.
How Do I Design the Lighting for My Kitchen?
Map your work zones first, place task lighting at each one, fill in with ambient light on a proper grid, then add accent and decorative fixtures last. Put each layer on its own switch or dimmer so you can adjust brightness by activity.
What Is the Proper Lighting for a Kitchen?
A kitchen needs layered ambient, task, and accent lighting, generally around 3000K with CRI 90+ for accurate color, and roughly 30 to 40 footcandles of ambient light with 50 to 100 footcandles at task surfaces per IES guidance.
What Is the Current Trend for Kitchen Lighting?
For 2026, design direction favors layered warmth with integrated LEDs, narrow-beam downlights over islands, and small decorative sconces in place of one oversized pendant.
Can Ariya Construction Handle My Kitchen Lighting Plan?
Yes. Ariya Construction coordinates lighting placement with cabinetry, appliances, and electrical work as part of full kitchen renovations, so fixture locations get locked in before construction rather than corrected after.