

The single move that keeps a renovation on time and on budget is a frozen one-page scope of finished outcomes, written before you get a single quote. Pair it with an all-in budget that includes a real contingency line and a signed contract that spells out payment milestones and change-order pricing, and you've closed off the three gaps where most projects bleed money. Do this in the next hour: open a blank document and write down exactly what "done" looks like in each room, in plain finished-outcome language, not a task list.
TL;DR:
- Writing a clear, outcomes-based scope before bidding helps ensure price comparability and prevents scope creep that can inflate costs.
- Securing three detailed, line-item bids and confirming contractor licenses and insurance reduces the risk of budget overruns and safety issues.
- Ordering long-lead items immediately after signing a contract prevents delays caused by supply chain issues.
- Documenting progress weekly with photos and approval of every change order maintains project transparency and controls expenses.
- Conducting thorough inspections, gathering warranties, and following safety protocols are essential for a smooth project closeout and warranty management.
Table of Contents
- Home Renovation Checklist: The Phase-By-Phase Master List
- Pre-Renovation Planning: Scope, Budget, and Timeline Templates
- Permits, Approvals, and Code Checks: What to Verify First
- Choosing Contractors and Making the Contract Your Control Document
- Procurement and Household Prep Before Demolition Starts
- During Construction: Inspections, Documentation, and Change-Order Discipline
- Closeout and Punch List: The Final Sign-Off
- Post-Renovation Maintenance and Warranty Coverage
- Safety Considerations During Renovation
- Sustainable and Energy-Efficient Renovation Options
- Communication Strategies With Contractors and Stakeholders
- Ariya Construction: What We Fix Most Often on Renovation Sites
- Sources
Home Renovation Checklist: The Phase-By-Phase Master List
Print this and check items off as you go. A physical copy on the fridge or in a folder tends to get used; a file buried in your phone doesn't.
Phase 1: Pre-renovation (4 to 6 weeks before contract signing)
- Write a one-page scope describing finished outcomes for every room affected.
- Set target, ceiling, and walk-away budget numbers with a contingency buffer to prepare for unexpected costs.
- Sequence the project outside-in and top-down (roof and envelope first, then structure, then finishes).
- Confirm permit requirements with your local council or state planning authority.
- Photograph every wall and ceiling before it's opened up.
Phase 2: Contracting and procurement
- Collect three itemized, comparable bids.
- Order long-lead items (cabinetry, custom windows, tile) before demolition starts.
- Sign a contract with a payment schedule tied to milestones, not dates.
Phase 3: Build
- Do a weekly walkthrough and photograph open work with a tape measure in the frame.
- Approve every change order in writing before work proceeds.
- Schedule required inspections at each milestone.
Phase 4: Closeout
- Live in the space for two weeks before signing off.
- Compile a punch list and confirm every item is fixed.
- Collect warranties, permit sign-offs, and as-built photos into one file.
The Domain renovation planning guide structures these same phases around scope, design, permits, and budgeting, and it's worth cross-checking your list against it before you sign anything.
Pre-Renovation Planning: Scope, Budget, and Timeline Templates
Scope creep kills more budgets than bad luck does. Writing scope as finished outcomes rather than tasks (say, "matte black tapware, hexagon floor tile, heated towel rail installed" instead of "renovate bathroom") forces every contractor bidding on the job to price the same thing, which makes your bids genuinely comparable.
Here's the sequence that works:
- List finished outcomes room by room, then split each item into must-have and nice-to-have. Nice-to-haves get cut first if bids come in high.
- Set three budget numbers: a target you'd love to hit, a ceiling you won't cross, and a walk-away price where you cancel or redesign. Hold your contingency yourself, separate from the contractor's payment schedule, at 10 to 15% of the ceiling.
- Build a dependency-based timeline, not a date-based one. Structural work has to finish before electrical rough-in, which has to finish before drywall. Plan for 4 to 6 weeks of planning before you sign a contract — rushing this stage is where most disputes start.
Permits, Approvals, and Code Checks: What to Verify First
Permit rules differ by council and by state, so nobody can give you a universal answer here. What you can do is know which triggers to ask about before you call.
- Structural changes (removing load-bearing walls, new openings) almost always need a permit.
- Plumbing and electrical work usually require a licensed tradesperson and a compliance certificate.
- Heritage overlays, decks, pools, and anything close to a boundary often trigger additional planning approval.
- Bathroom and kitchen renovations that move plumbing or add ventilation may need building surveyor sign-off.
Call your local council or check your state planning portal before you finalize a scope, not after. Have your property address, a rough plan sketch, and your scope document ready when you call. Consumer Affairs Victoria's building and renovating checklists are a solid starting point for what to ask, and the National Construction Code's homeowner guidance explains when a structural or safety-critical job needs an accredited practitioner rather than a general builder.
Choosing Contractors and Making the Contract Your Control Document
Vetting a contractor comes down to three checks: verify their license and insurance directly with the regulator (don't just take their word for it), call at least two references and ask what went wrong on the job, and request an itemized bid broken down by labor, materials, and allowances rather than a single lump sum.
- Confirm license status and public liability insurance before you interview anyone.
- Ask each reference: "What would you change about how this job was run?"
- Compare three itemized bids line by line, not just the bottom-line total.
- Check the contract for a payment schedule tied to completed milestones, a change-order pricing formula, retention terms, and a written definition of "complete."
Pro Tip: Ask every bidder the same clarifying question about your scope document and see how they answer it. A contractor who pushes back with specifics knows the trade; one who just says "sure, no problem" to everything is a red flag.
NSW Fair Trading's licensing guidance lays out exactly what a legitimate license and insurance record should show, and it's worth the ten minutes to check.
Procurement and Household Prep Before Demolition Starts
Long-lead items stall more jobs than bad weather. Custom cabinetry, imported tile, and specialty windows can take 8 to 14 weeks, so order them the moment your contract is signed, not when the demolition crew shows up.
- Order cabinetry, tile, and fixtures as soon as the contract is signed.
- Check every delivery on arrival: count boxes, check the dye lot number on tile, and photograph any damage immediately.
- Set up a living plan for the renovation period, notify your home insurer of the work, and keep a printed emergency contact list on-site.
During Construction: Inspections, Documentation, and Change-Order Discipline
Three habits keep a build honest: routine documentation, scheduled inspections, and written approval for every change.
- Photograph open work weekly, with a tape measure in frame so scale is verifiable later. This becomes essential evidence if a wall needs opening again for maintenance or a dispute arises over what's behind it.
- Schedule inspections at each milestone (framing, rough-in, pre-drywall) and bring in an independent certifier for anything structural.
- Approve every change order in writing before the crew proceeds. A verbal "yeah that's fine" on-site is where budget overruns start; a signed change order with a dollar figure attached is what protects you later.
Industry data on building activity shows how much demand for trades and materials fluctuates, which is part of why lead times and pricing shift mid-project even on a well-planned job.
Closeout and Punch List: The Final Sign-Off
Live in the finished space for two weeks before you sign off. Problems like a door that sticks in humidity or a tap that drips under pressure often only show up under normal daily use, not on a walkthrough the day the crew leaves.
- Walk every room with your original scope document and note anything unfinished or wrong.
- Collect all warranties, appliance manuals, and permit sign-offs before final payment.
- Store photos, as-built notes, and permit records together, this becomes your reference file for the next decade.
Post-Renovation Maintenance and Warranty Coverage
Warranties come in layers, and mixing them up costs homeowners real money. Your builder typically covers workmanship for a defined period (often a year or more, depending on the contract), manufacturers cover specific products like appliances or tapware, and structural work may carry a separate, longer statutory warranty depending on your state's home building regulations.
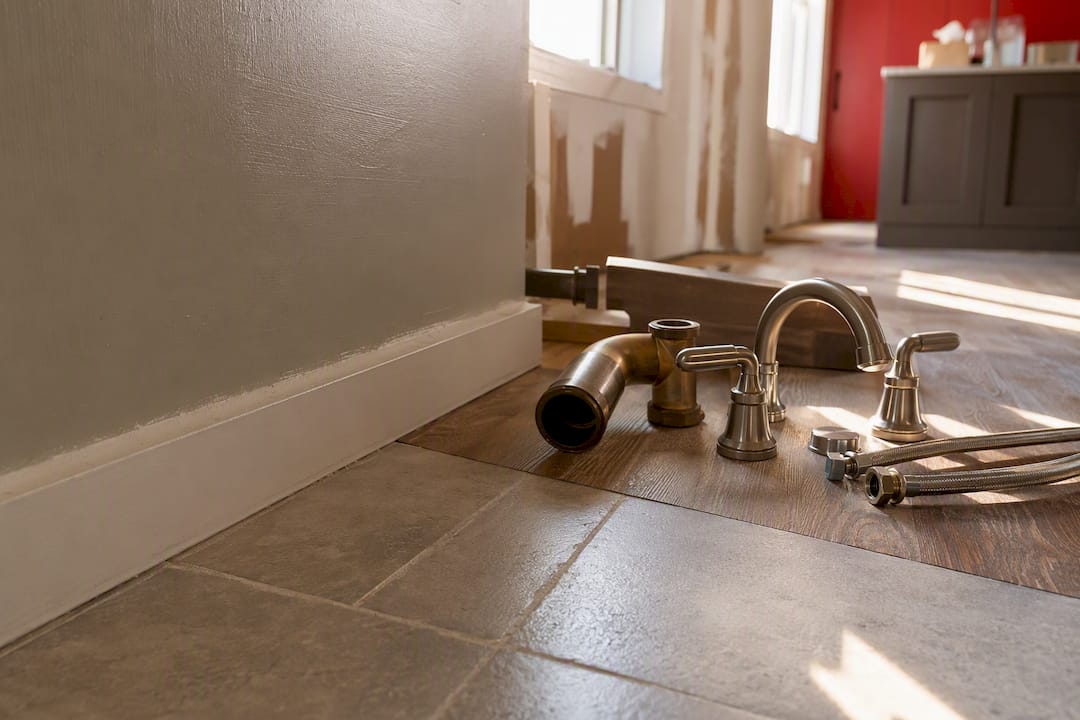
Read the fine print on each one now, while the contractor is still reachable and the paperwork is fresh. Note the start date of each warranty (often the completion date, not the purchase date), the process for lodging a claim, and whether routine maintenance is a condition of keeping the warranty valid. Silicone sealant, grout, and exterior paint usually need re-application every few years. Skipping that maintenance can void a warranty claim on water damage, even when the original workmanship was fine.
Keep a simple maintenance calendar: reseal wet areas annually, service any new HVAC or hot water system per the manufacturer's schedule, and check roof flashing and gutters twice a year if your renovation touched the roofline. The photos and as-built notes from your project record earn their keep here. When you need a plumber five years from now, knowing exactly what's behind a wall saves a service call and a guessing game.
Safety Considerations During Renovation
A renovation site is a construction site, even when your family is still living in the house. The biggest risks are dust and material exposure, especially in homes built before the 1990s where lead paint or asbestos-containing materials are a real possibility. Get an inspection before demolition on any older home, and don't let a crew "just knock through" a wall without confirming what's in it first.
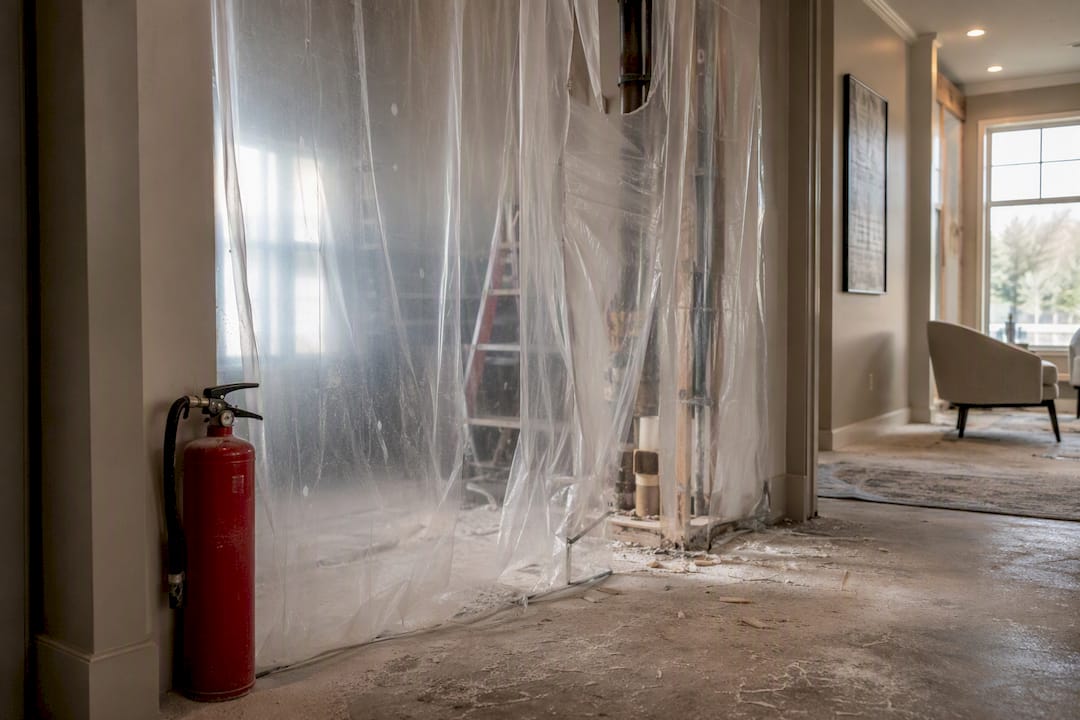
Seal off the work zone from living areas with plastic sheeting and keep kids and pets out entirely, not just supervised. Temporary power boards, exposed wiring, and open trenches for plumbing are common on active sites, so walk the property daily if you're living on-site and flag anything that looks unsecured. Fire extinguishers should be accessible near any area with cutting, welding, or open flame work.
Structural and safety-critical work, load-bearing wall removal, electrical rough-in, gas line work, needs licensed trades and often a compliance certificate, not a general laborer doing a favor. The National Construction Code's homeowner guidance is explicit about which trades require accreditation, and skipping that step is both a safety risk and a resale liability if the work surfaces in a future building inspection.
Sustainable and Energy-Efficient Renovation Options
Renovations are one of the few times you can upgrade a home's energy performance without the disruption of doing it as a standalone project, since walls and floors are already open. Insulation is the highest-value, lowest-glamour improvement available: adding or upgrading wall and ceiling insulation while framing is exposed costs a fraction of what it would to retrofit later, and it affects comfort and heating and cooling bills for as long as you own the home.
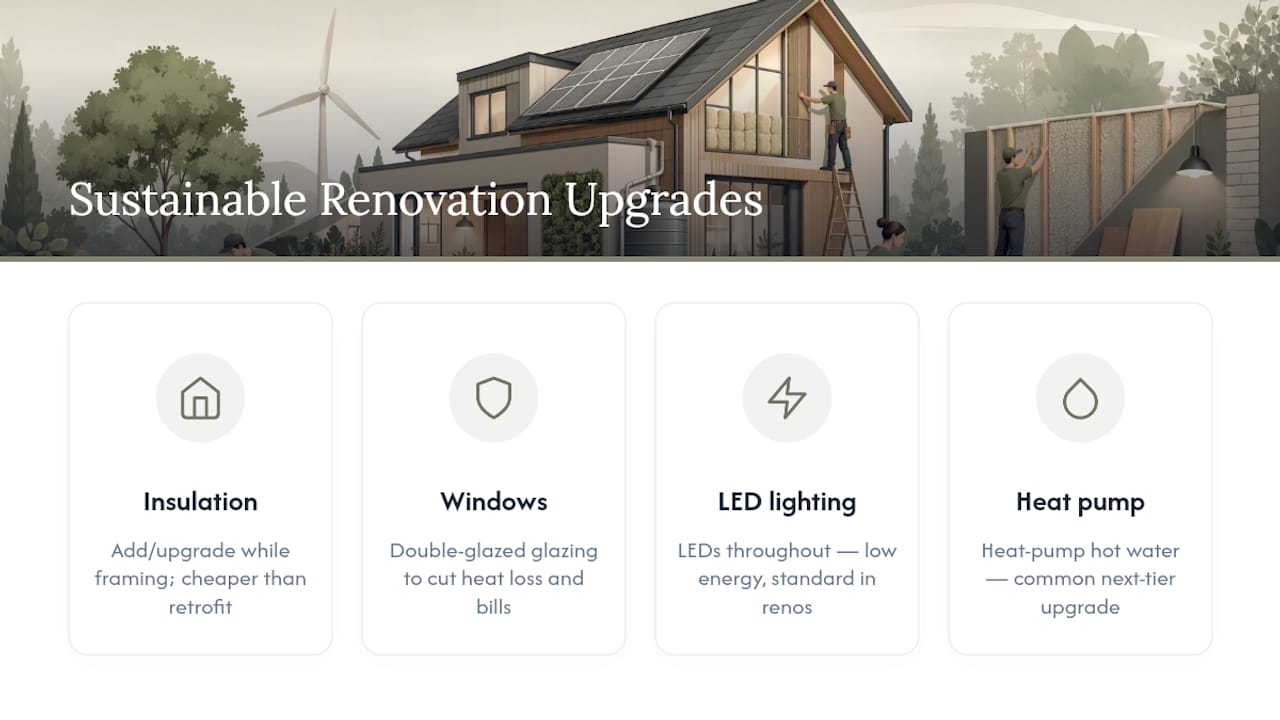
Double-glazed or upgraded windows, LED lighting throughout, and a heat pump hot water system are the next tier of common upgrades homeowners bundle into a renovation. If your roof gets touched during the project, that's also the cheapest window to add solar or at least run the conduit for it later.
Water efficiency matters just as much in a kitchen or bathroom renovation. Water-efficient tapware and dual-flush toilets are now standard rather than upgrades, but it's worth confirming the star rating on anything you're specifying, since older display models in showrooms sometimes lag behind current efficiency standards.
None of this needs to be a separate "green renovation." Fold it into your finished-outcomes scope document from the start (specify insulation R-value, glazing type, and fixture ratings the same way you'd specify tile and paint color) so it gets priced into your original bids instead of added as an expensive afterthought.
Communication Strategies With Contractors and Stakeholders
Most renovation disputes trace back to a conversation that happened but was never written down. If a decision changes scope, price, or timeline, it belongs in writing, an email, a text, a signed change order, even if you already agreed to it on-site with a handshake.
Set a communication cadence before work starts: a weekly check-in, whether that's a five-minute call or a site walkthrough, keeps small issues small. Ask your contractor who your single point of contact is, and confirm it's the same person for the life of the job. Coordinating trades, schedule slips, and material substitutions is much easier when one person owns that job instead of you chasing three different subcontractors for answers.
If other stakeholders are involved, a partner, a tenant, family members living through the renovation, decide upfront who has final say on selections and change orders. Nothing stalls a job faster than a contractor waiting on two people to agree on a tile color while the tiler sits idle. Keep every approval, especially anything involving extra cost, in a shared written thread so there's no argument later about who said yes to what.
Ariya Construction: What We Fix Most Often on Renovation Sites
We push every client toward a written, frozen scope before pricing starts, because the projects that go sideways almost always trace back to a scope that stayed vague past the bidding stage. Ariya Construction runs each renovation through a single point of contact who coordinates trades, tracks change orders in writing, and manages the schedule risk that comes from long-lead materials and permit timing.
The most common fix we make on a site we didn't originally design isn't structural, it's a missing paper trail: no photos of what's behind a wall, no signed change order for a "small" addition, no clear definition of what "finished" meant. A frozen scope and a contract that treats change orders as a formal process, not a conversation, prevents nearly all of it.
— Sarah
If you're planning a home, kitchen, or bathroom renovation and want a single point of contact managing the checklist above from scope to final sign-off, Ariya Construction handles the full process, design through handover, for renovations across the categories covered here.